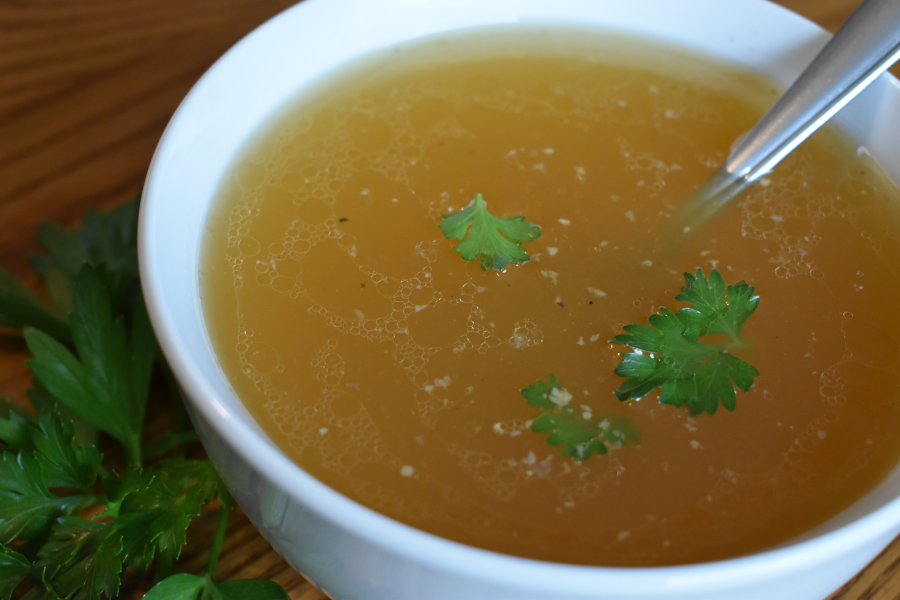
Homemade bone broth is an essential for our family. It’s an effortless way to add flavor and protein to any dish – for free! All you have to do is save your kitchen scraps. Try it once and you’ll never buy the overpriced stuff from the store again.
I’ve crafted this bone broth recipe to be delicious to drink on its own as well. I know it’s not conventional to season bone broth, but hey – I’m not a professional chef and this is how our family likes it. A cup of this steaming bone broth with a slice of buttered sourdough toast is one of my favorite light breakfasts (especially on Fridays when we don’t eat meat)!
Don’t be intimidated by the long cook time. It’s totally hands off and the prep time is minimal. Basically, you’ll spend ten minutes putting everything in a pot, then you’ll let it sit all day (and night). Just plan ahead and make sure you aren’t using a pot you want to use in the next 24 hours!
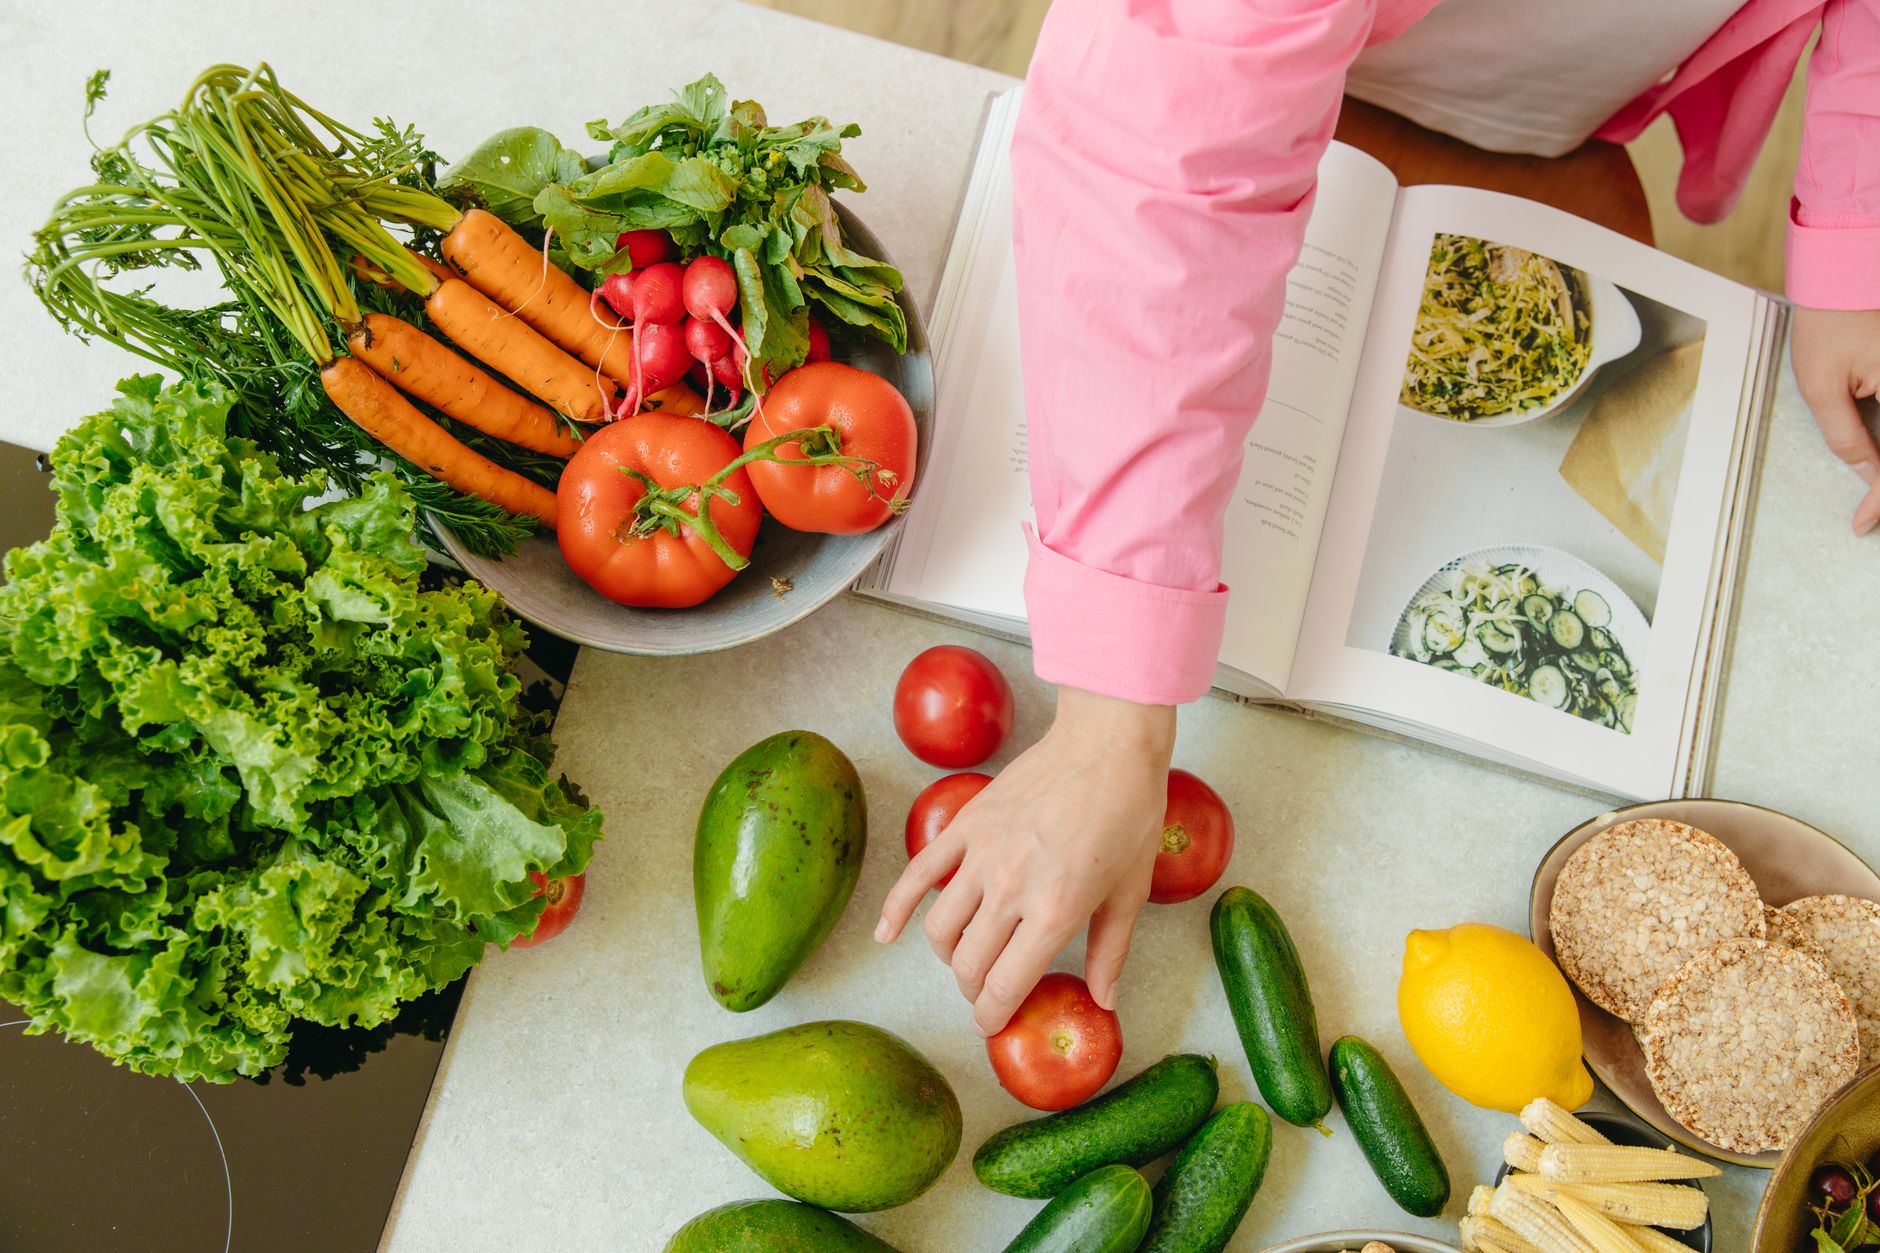
The beauty of bone broth (or stock or normal broth) is that it’s REALLY flexible. Truly. Start by bulk meal prepping some chicken. Save up kitchen scraps in the freezer and throw them in. Don’t worry if the vegetables or herbs are past their prime – as long as they aren’t bad, they’ll be fine for making broth. If you don’t have an ingredient I list below, feel free to omit (except the bones – those are necessary). Adjust it to fit your family’s tastes!

Should I add salt to bone broth?
It’s totally up to you. Some people don’t add salt to their bone broth so that they can control how much salt they put into the recipes they use it in. We love our salt (plus it’s an essential nutrient for so many bodily functions!), so I add it to my broth. This is great because the broth is ready to drink anytime or to use for making pasta or rice. Unsalted bone broth does not taste good!
What’s the difference between broth, stock, and bone broth?
Broth is made by simmering meat and vegetables in water for two hours or less. When cooled, it remains a liquid, not a gel. It’s lower in protein than bone broth and is weaker in flavor than stock.
Stock is made by simmering bones and vegetables for a longer time – usually 2-6 hours. It also remains a liquid when cooled. The longer simmering time boosts the flavors compared to broth, but it is still lower in protein than bone broth as the bones don’t simmer long enough to leech all the collagen into the stock.
Bone broth is made similarly to stock, with bones and vegetables, but is cooked for a much longer 12-24 hours. When cooled, it forms a gel due to the collagen and gelatin from the bones. A nice jello-like bone broth is my pride and joy – the firmness is an indicator of a high protein content!
How do I use bone broth?
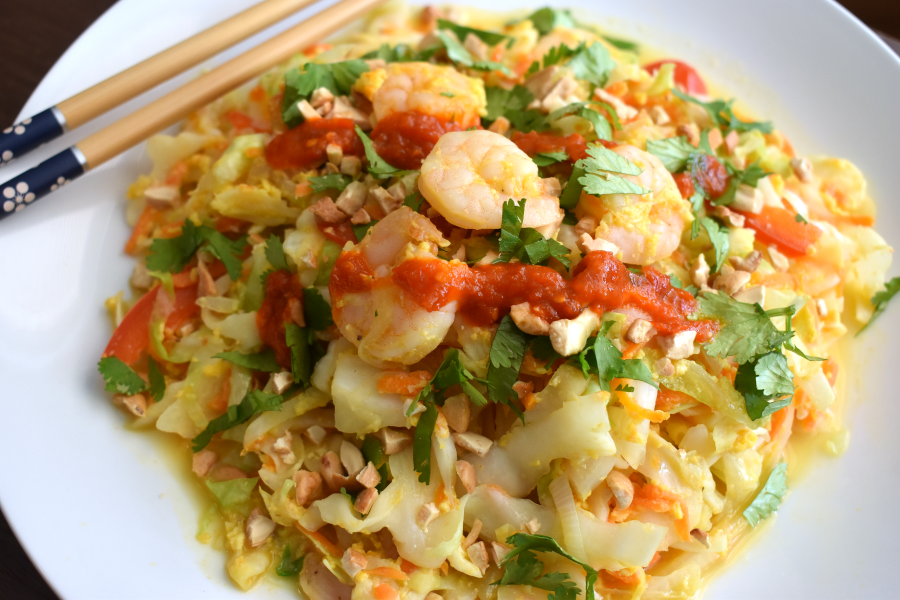
In addition to being great in soups and stews, bone broth can be used to enrich so many recipes. Use it instead of water to cook rice or pasta for a protein and flavor boost. It’s great for sauces and gravies, just like any broth. Basically, you can use to to replace water in any savory recipe!
Check out some recent recipes that use bone broth below (the rest can be found here):


Ingredients
- 2-3lbs of chicken (or other) bones – I save the carcass and whatever other bones I can whenever I roast a chicken! I also throw in any leftover skin or bits with meat, like the back from a spatchcocked chicken or neck if it was included with the bird.
- 1 onion, cut in half (leave the skin on)
- 3 stalks of celery
- 2 carrots, unpeeled
- 2 tbsp of apple cider vinegar – this helps to extract the nutrients from the bones.
- 1 tbsp garlic, minced (or a couple whole cloves)
- 1 tbsp dried parsley (or any fresh herbs you have lying around)
- 1 tbsp whole black peppercorns
- 1 tbsp salt
- Water, to cover

Directions
Step 1: Put the bones in a large stock pot and nestle the vegetables in around the edges. Add the apple cider vinegar, garlic, parsley, peppercorns, and salt. Just cover it with cold water (don’t add too much – this will make your broth less rich).

Step 2: Cover the pot and bring to a gentle simmer over medium heat. Lower the heat to low and try to keep it just below boiling for 24 hours. If you have a gas stove and are not comfortable leaving a pot on an open flame unattended, heat your oven to 200°F and stick it in there until you can get it back on the stovetop.

Step 3: The broth is done when the bones are soft and the ends literally crumble. You can’t rush this!

Step 4: Once the broth is done, strain and discard the solids.
Step 5: Cool broth as quickly as possible to prevent it from spoiling. My strategy is to put the pot (or portioned containers of broth) in a sink full of ice cold water and stir it frequently. Replace the water or add ice as needed until the broth is cool. This won’t take long and prevents it from spending too long in the danger zone (40-140 °F) on the counter. Do not put a pot of hot broth in your fridge or freezer – that will heat up the whole thing and you’ll risk spoiling the rest of your food too!

Step 6: Once broth is cool, refrigerate or freeze it for later. I only refrigerate broth if I plan to use it in the next 3-4 days. Otherwise, I freeze it in usable quantities. Some ideas: mason jars for 2-4 cup increments, muffin tins for 1/4 cup increments, or freezer bags for 1-2 cup increments (or whatever freezer-safe containers you have on hand). The key is to measure and label!

Equipment
*Disclosure: I only recommend products that I use or would use myself. The links above are affiliate links, which means that I earn a commission (at no cost to you!) if you make a purchase using the link.

Chicken Bone Broth
Use your kitchen scraps to add flavor and protein to any meal for free! This chicken bone broth is so easy and delicious, you’ll never buy it from the store again.
- Total Time: 24 hours 10 minutes
- Yield: 12 (about 1 cup each)
Ingredients
- 2-3lbs of chicken bones
- 1 onion, cut in half (leave the skin on)
- 3 stalks of celery
- 2 carrots, unpeeled
- 2 tbsp of apple cider vinegar
- 1 tbsp garlic, minced (or a couple whole cloves)
- 1 tbsp dried parsley (or any fresh herbs you have lying around)
- 1 tbsp whole black peppercorns
- 1 tbsp salt
- Water, to cover
Instructions
- Put the bones in a large stock pot and nestle the vegetables in around the edges. Add the apple cider vinegar, garlic, parsley, peppercorns, and salt. Just cover it with cold water (don’t add too much – this will make your broth less rich).
- Cover the pot and bring to a gentle simmer over medium heat. Lower the heat to low and try to keep it just below boiling for 24 hours. If you have a gas stove and are not comfortable leaving a pot on an open flame unattended, heat your oven to 200°F and stick it in there until you can get it back on the stovetop.
- The broth is done when the bones are soft and the ends literally crumble. You can’t rush this!
- Once the broth is done, strain and discard the solids.
- Cool the broth as quickly as possible to prevent it from spoiling. My strategy is to put the pot in a sink full of ice cold water and stir it frequently. Replace the water or add ice as needed until the broth is cool. This won’t take long and prevents it from spending too long in the danger zone (40-140 °F) on the counter. Do not put a pot of hot broth in your fridge or freezer – that will heat up the whole thing and you’ll risk spoiling the rest of your food too!
- Once broth is cool, refrigerate or freeze it for later. I only refrigerate broth if I plan to use it in the next 3-4 days. Otherwise, I freeze it in usable quantities. Some ideas: mason jars for 2-4 cup increments, muffin tins for 1/4 cup increments, or freezer bags for 1-2 cup increments (or whatever freezer-safe containers you have on hand). The key is to measure and label!
Notes
If you are freezing mason jars with broth, be sure to leave headspace for the broth to expand when it freezes (otherwise it will break the jar). I generally freeze quart mason jars with no more than 3 cups of bone broth.
Nutrition Facts
Amount Per Serving
Calories: 156 kcal
Fat: 7g
Total Carbohydrates: 3g
Fiber: 1g
Protein: 20g
The nutrition data provided here is for informational only and is only an estimate based on an online nutrition calculator. It cannot be verified or guaranteed, and should not be used in the treatment of medical conditions. It should not be considered a substitute for a professional nutritionist’s advice This data should be interpreted and used at your own risk.


Leave a Reply